
ASLAN CONSTRUCTION / APPLICATION NOTES
Timber Pool Decking: Notes from an Installation
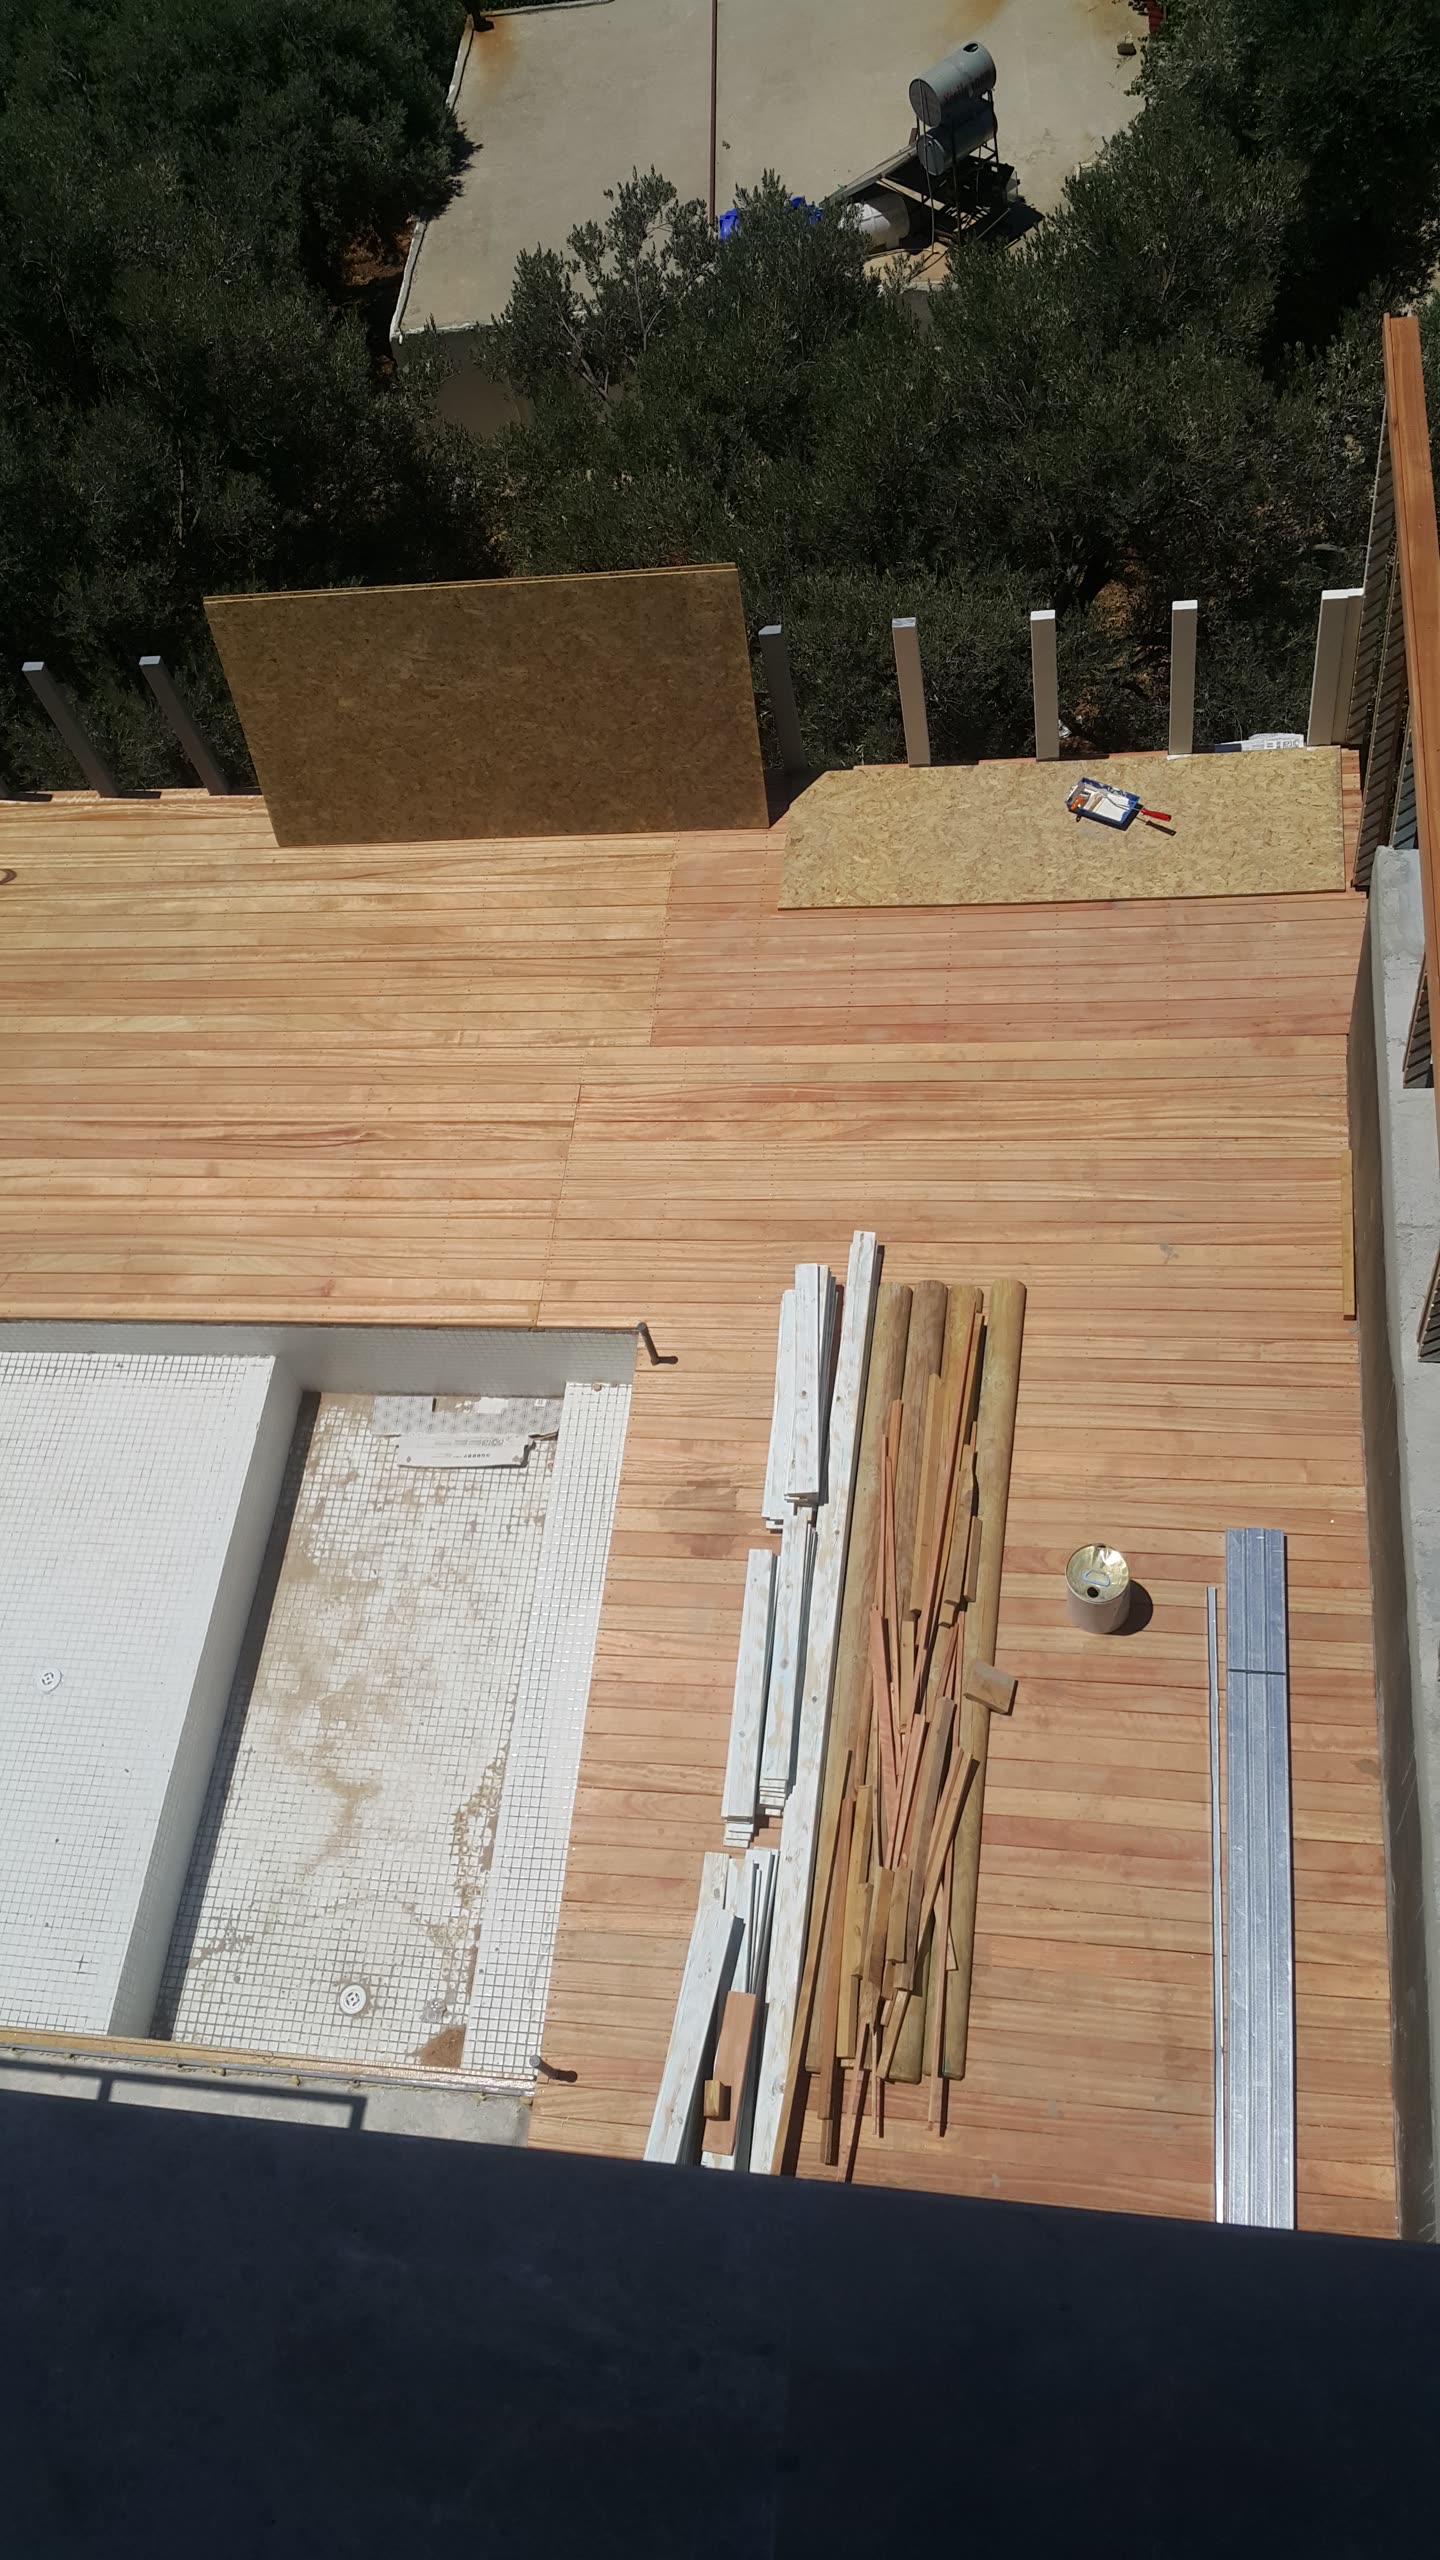
Timber can give a pool terrace a warmer character. The starting and completed photographs from the archive show how the pool geometry, stone edges and board direction need to work together.
EXPLORE THE DETAILS ↓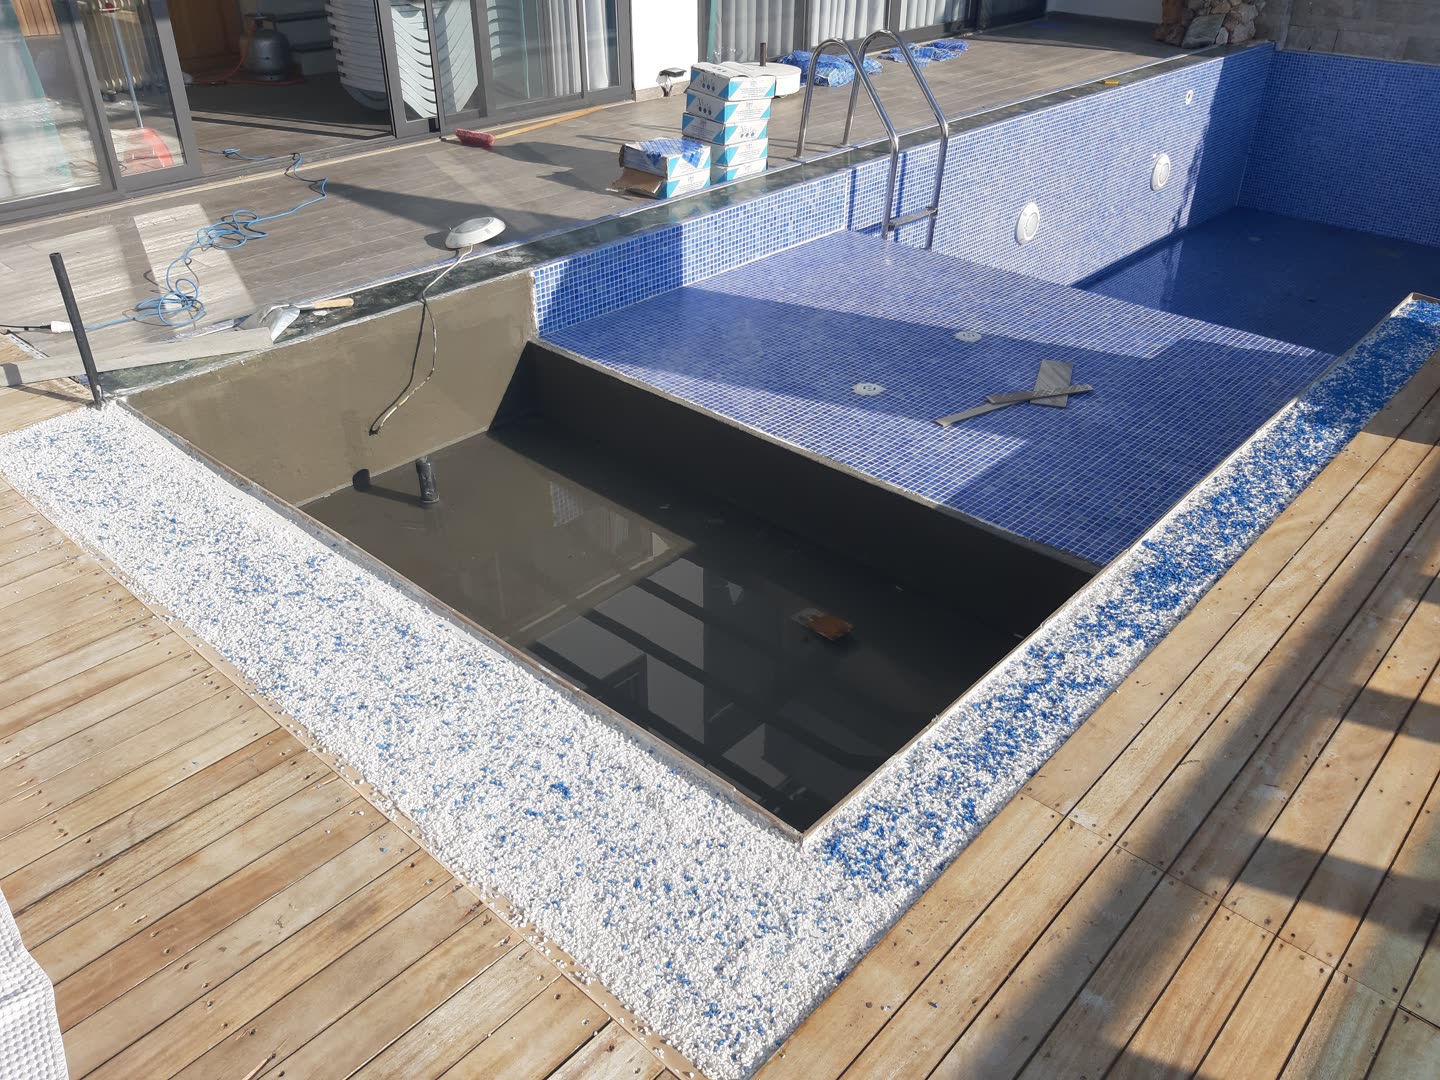
01 / A CLOSER LOOK
Reading the starting condition
The starting photograph makes the levels and boundaries around the pool visible. A decking brief needs to consider door thresholds, pool access, stone junctions and maintenance access as well as surface area. When installing over an existing surface, the support arrangement and route for water to drain away need to be checked on site. Photographs support an initial discussion but cannot establish the condition of hidden construction.
02 / A CLOSER LOOK
Details visible in the completed work
The completed view shows how the boards meet the surrounding stone and finish at the pool edge. Dimensions, cutting, fixings and edge details all contribute to the appearance. In a new project, timber, finish and fixing choices need to reflect exposure to sun, water and actual use. The timber species or protective product cannot be reliably identified from a photograph alone.
03 / A CLOSER LOOK
Discuss maintenance from the outset
Maintenance should follow the information for the selected material and finishing system. Cleaning, fixing checks and any finish renewal can be planned as appropriate; one fixed interval will not suit every terrace. In rental villas, arranging inspection and work around bookings helps manage interruption.
04 / A CLOSER LOOK
What to include in a decking enquiry
Start with overall views and close photographs of pool edges, thresholds and problem areas. Include the approximate area, whether existing finishes should remain or be removed, and the preferred work period. Pergolas, seating and other timber work can be considered as separate items within the brief.
COMMON QUESTIONS
Before you begin.
Can existing decking be repaired?
The support structure and fixings need inspection as well as the visible boards. The existing condition determines whether repair or replacement is appropriate.
YOUR NEXT STEP
Your space.
Let’s begin together.
Share the location, current photographs and your requirements. Let’s establish the scope and the next step.
Price and timing are confirmed after the existing condition and scope have been assessed.