
ASLAN CONSTRUCTION / APPLICATION NOTES
Bespoke Epoxy Tables: From Timber to Detail
An epoxy table involves more than choosing a colour. Dimensions, edge character, the base and everyday use all matter. Explore timber preparation, a pouring stage and a drawer detail through the workshop archive.
EXPLORE THE DETAILS ↓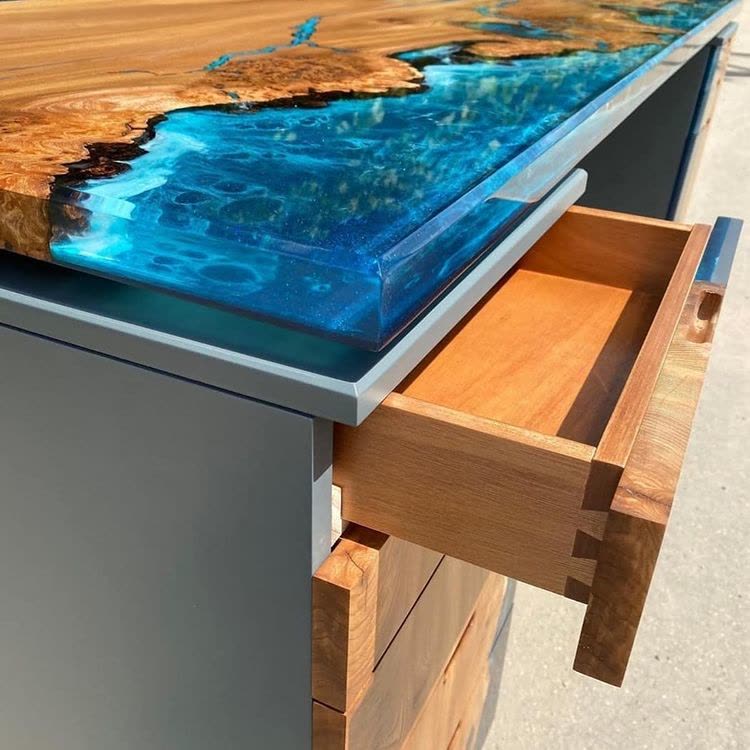
01 / A CLOSER LOOK
Let the timber inform the design
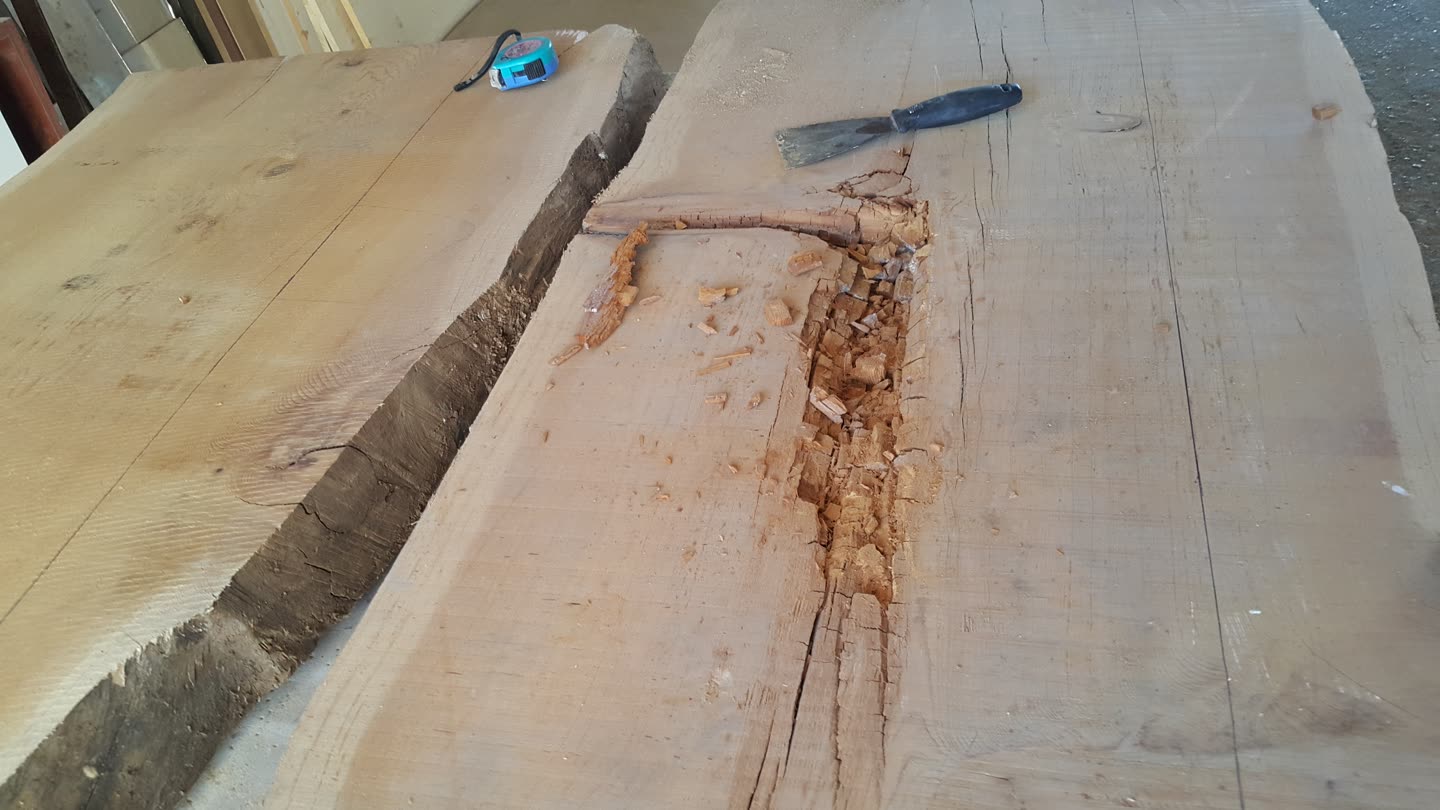
The natural voids and edges in the raw timber photograph help define the character of the top. That appearance cannot be repeated exactly in every piece of wood. Required dimensions, timber condition and stock selection are considered together. How knots and cracks will be treated needs discussion before jointing and resin decisions are made.
02 / A CLOSER LOOK
Blue colour and its relationship with timber
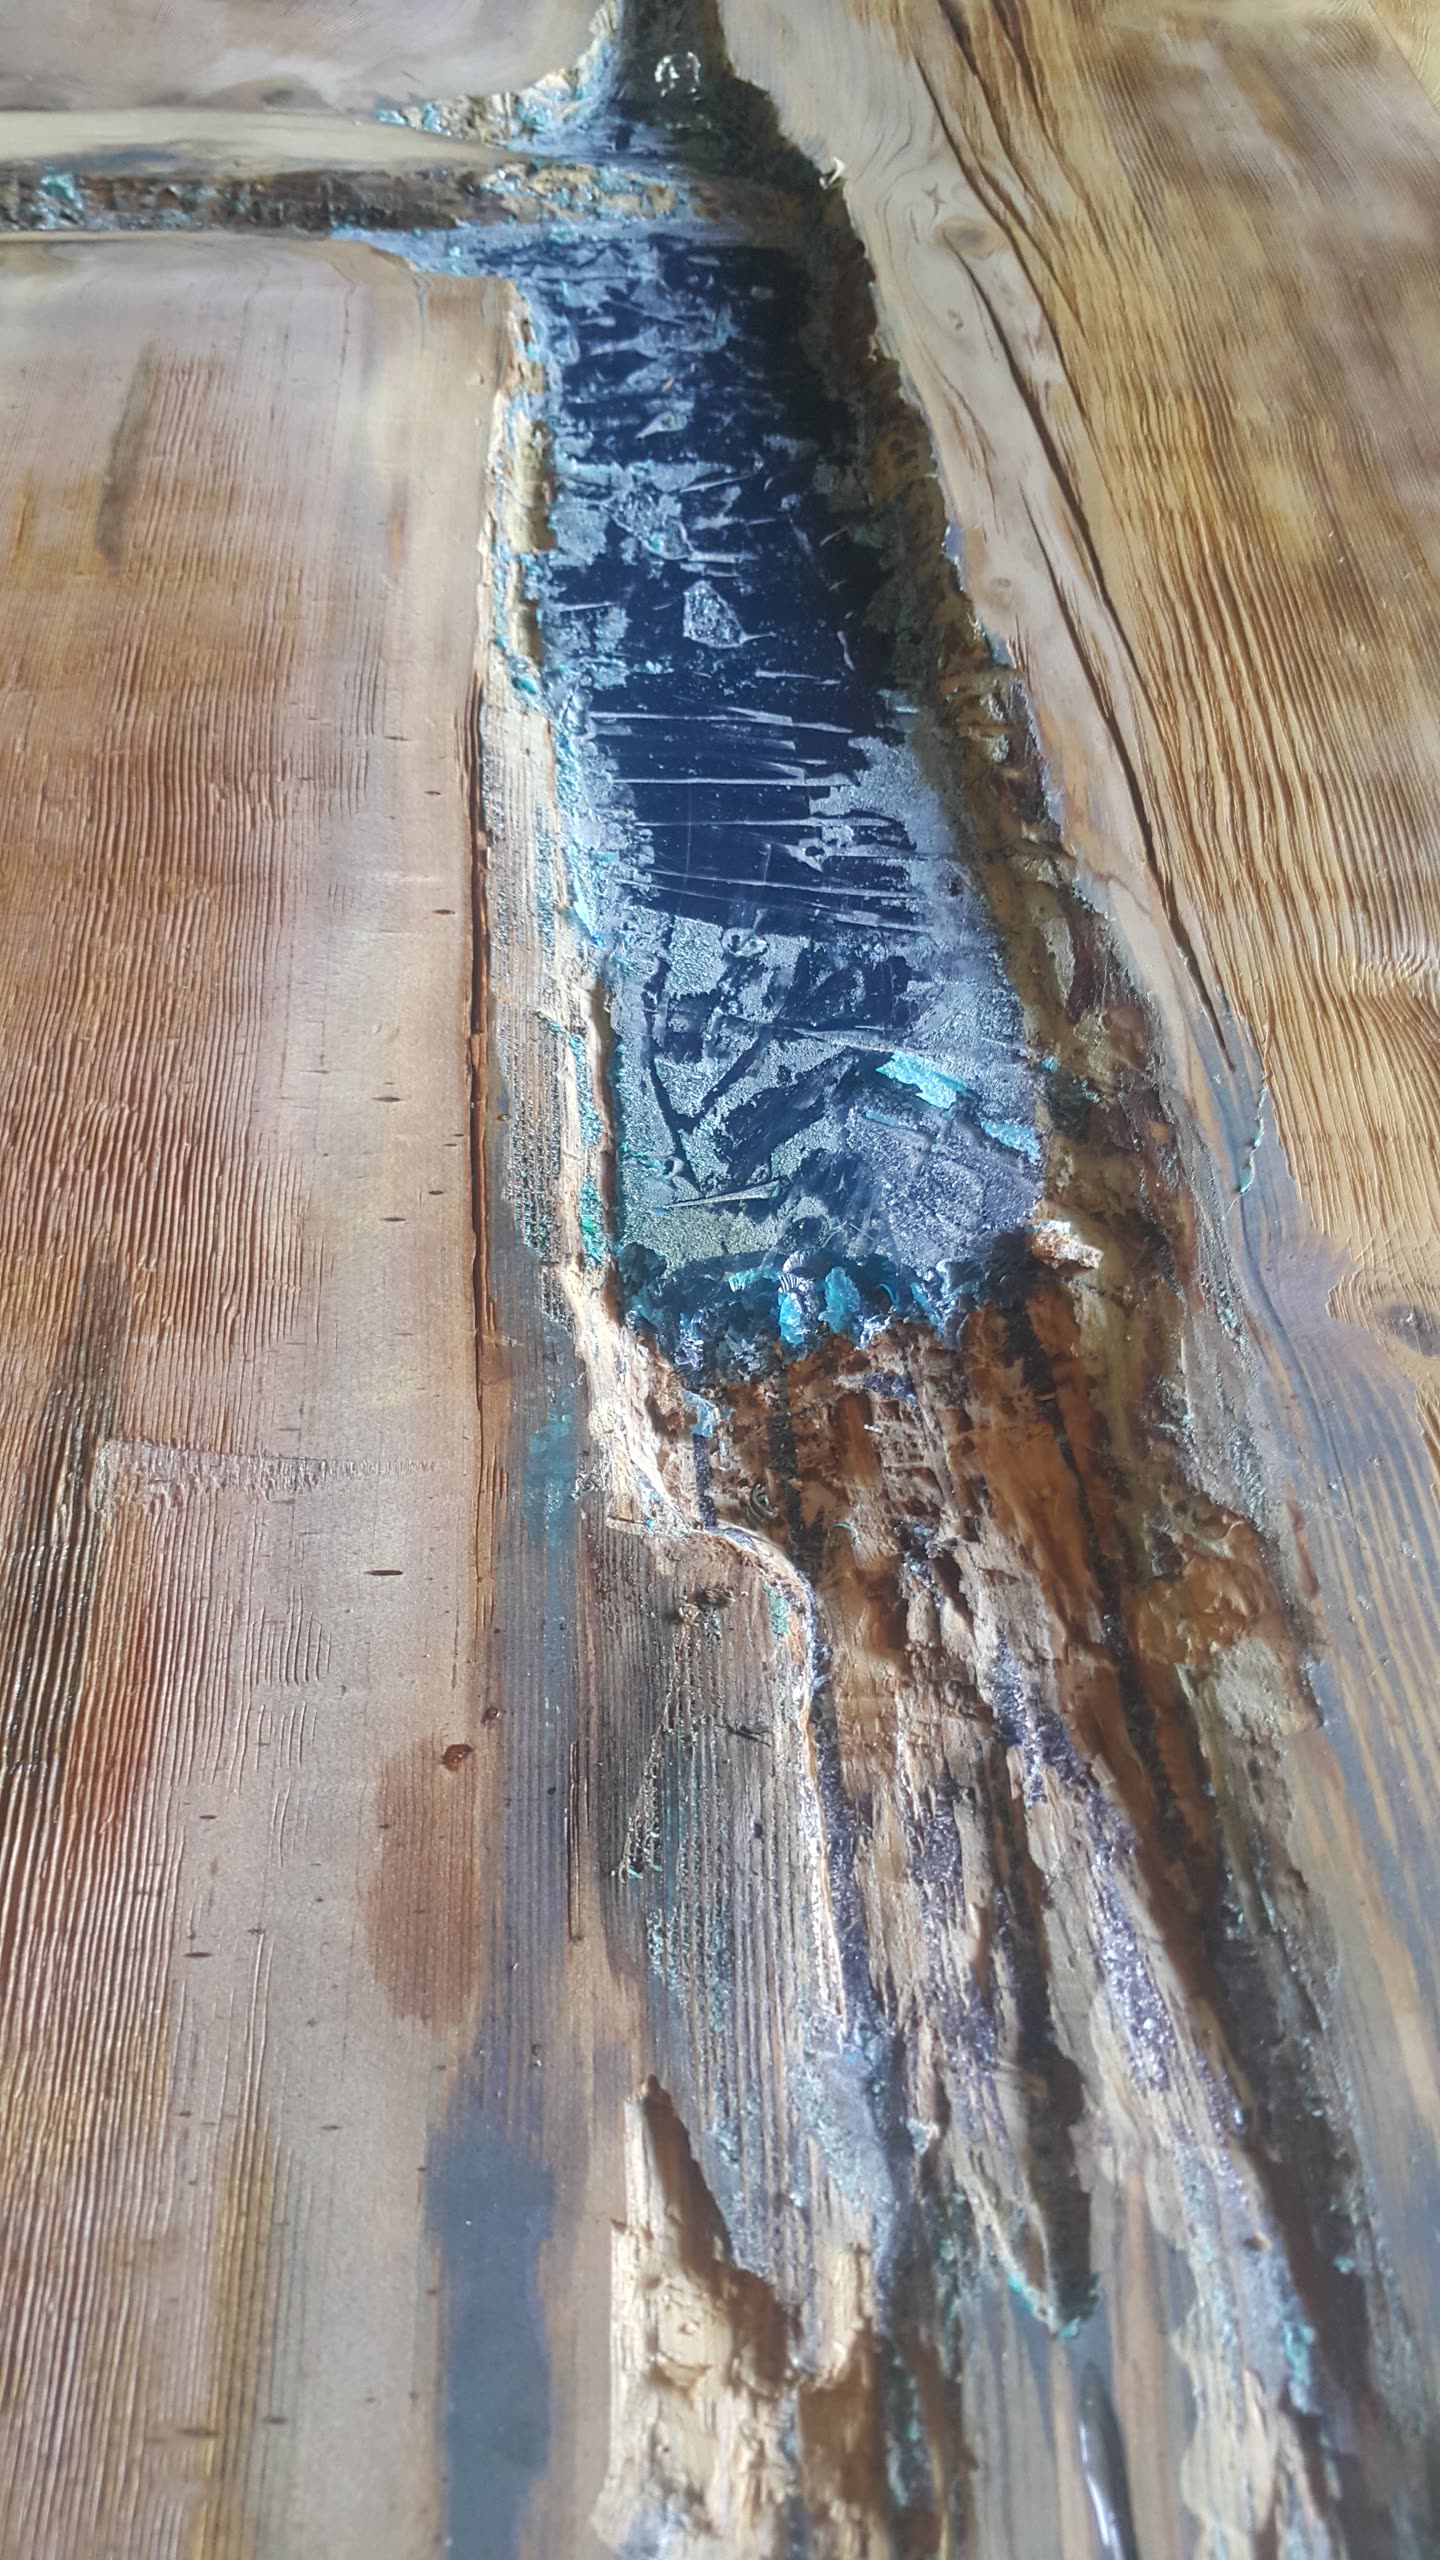
The pouring-stage photograph shows the boundary between timber and the blue section. An example helps explain the desired transparency, colour intensity and pattern. The image alone does not establish the resin system or suitability for a particular use. Product selection and production conditions need to follow the technical information for the chosen system.
03 / A CLOSER LOOK
Consider everyday use alongside appearance
The drawer example makes clear that a table is more than its view from above. Height, knee clearance, chair positions and drawer opening affect use. A dining table, desk and console may need different dimensions and bases. Tell us where the piece will stand, how many people will use it and any specific requirements.
04 / A CLOSER LOOK
Define your own piece
Start with approximate dimensions, a photograph of the room and colour references. Natural or straight edges, base material and added storage are separate design decisions. The final price depends on the timber and material selections. Care and use guidance should relate to the finishing system supplied.
COMMON QUESTIONS
Before you begin.
Will every table look exactly like the photograph?
No. Natural timber varies in grain, voids and colour. Appearance and details are agreed around the selected piece.
YOUR NEXT STEP
Your space.
Let’s begin together.
Share the location, current photographs and your requirements. Let’s establish the scope and the next step.
Price and timing are confirmed after the existing condition and scope have been assessed.